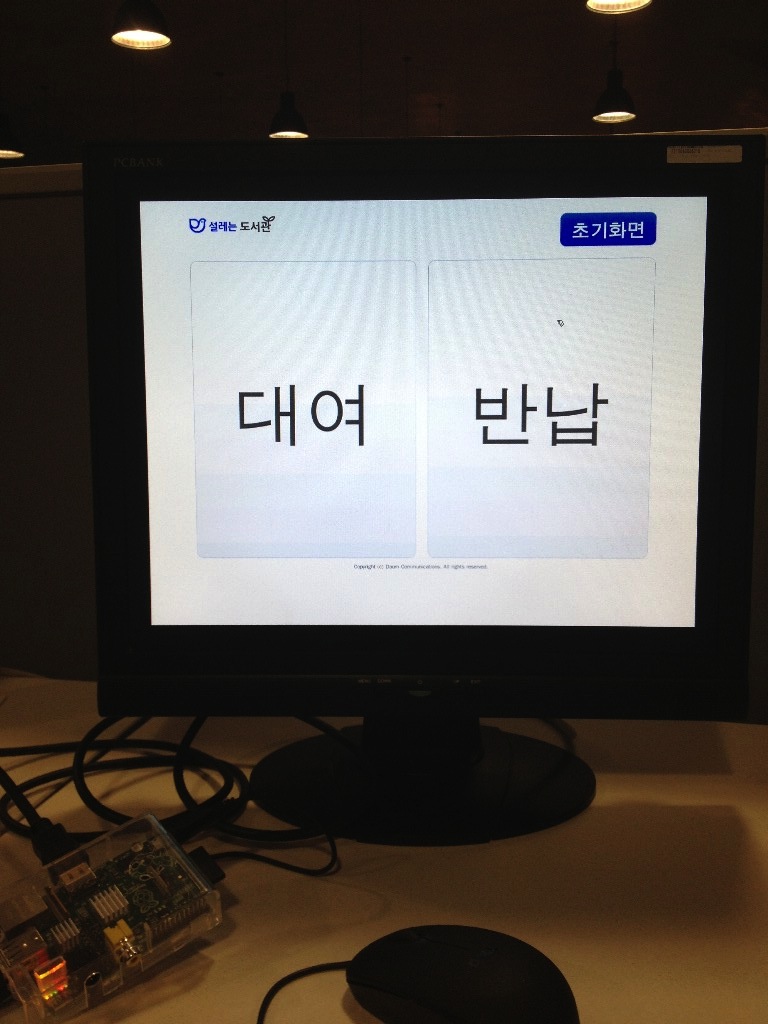
사내 제주 도서관에 Raspberry Pi를 입양보냈다.
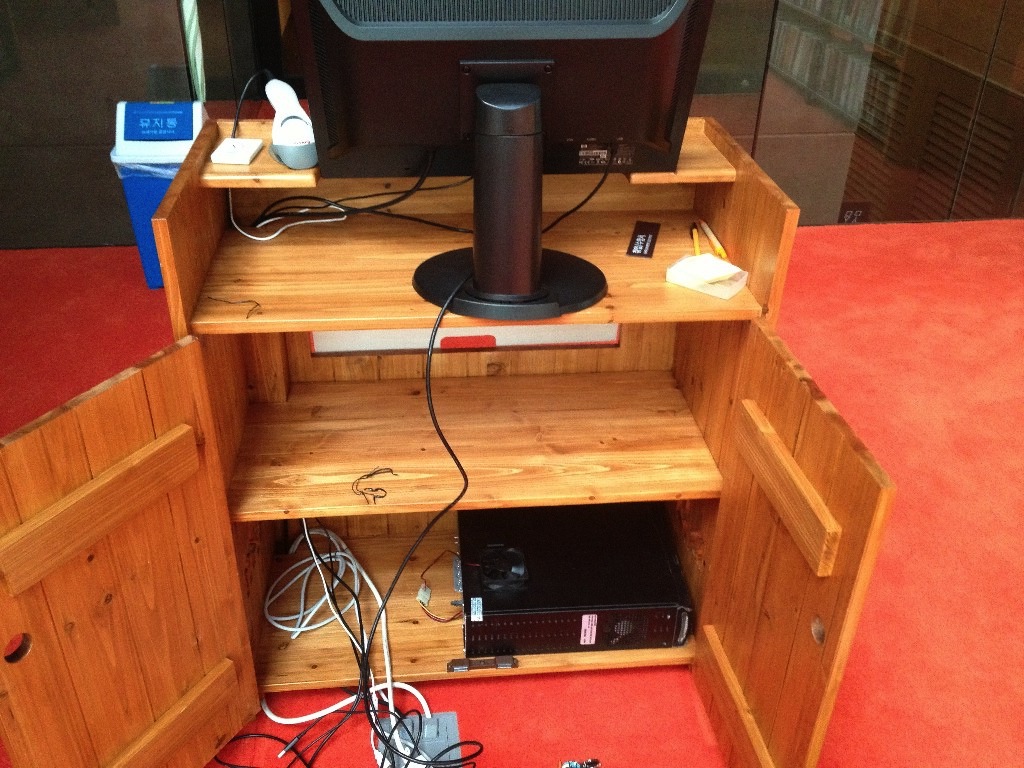
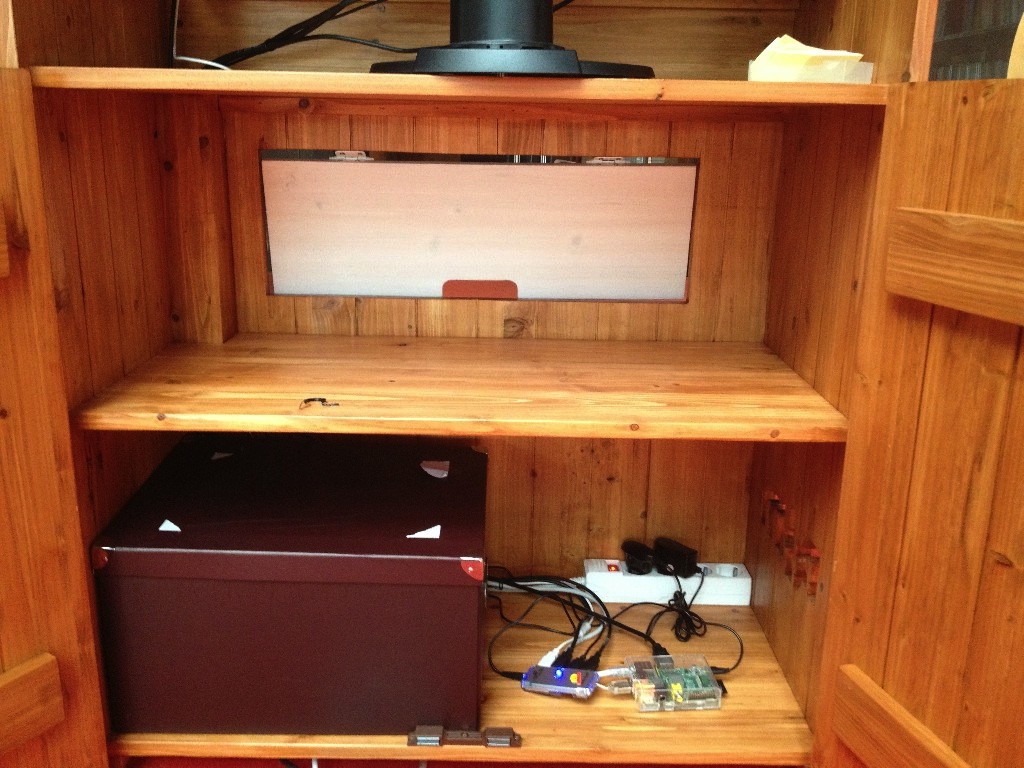
도서관에 있는 기존 PC는 나무상자 속에 갖혀서 열이 심하면 종종 뻗는 현상이 잦았다고 한다.
이게 골칫거리긴 하나, 나름 잘 돌아가고 있었다.
물론, 라즈베리파이로 교체한다고 해서 달라지는 것은 없다.
단, 기존에 사용한 바코드 리더와 RFID 리더기만 잘 작동하고, 브라우저만 Kiosk 모드로 띄우면 되는 것이다.
(다행히도 HID로 인식했다.)
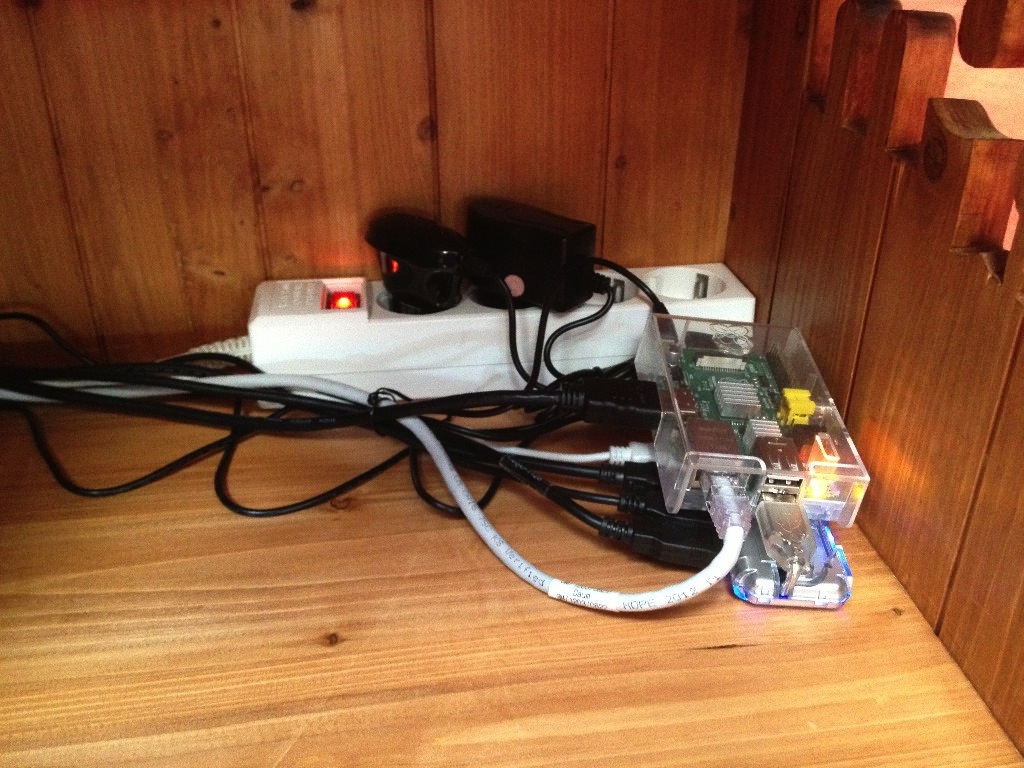
개인적으로는 얼마나 잘 버텨줄지 궁금하기도 해서 256M 라즈베리를 입양 보내기로 결심했다.
최소한의 패키지로 OS 설치를 진행하고, Locale은 ko_KR.utf8로 맞춘다.
그 다음에 추가로 아래 패키지를 설치한다.
# sudo 설치
$ sudo apt-get install sudo

# X 서버 설치
$ sudo apt-get install xinit

# 한글폰트 설치
$ sudo apt-get install fonts-nanum

# Chronium 설치
$ sudo apt-get install chromium
로그인 할 계정(여기서는 편의상 user라고 하자)을 하나 만들고, 자동 로그인 시킨다.
# /etc/inittab: init(8) configuration.
# $Id: inittab,v 1.91 2002/01/25 13:35:21 miquels Exp $

# The default runlevel.
id:5:initdefault:

# /sbin/getty invocations for the runlevels.
#
# The "id" field MUST be the same as the last
# characters of the device (after "tty").
#
# Format:
#  :::
#
# Note that on most Debian systems tty7 is used by the X Window System,
# so if you want to add more getty's go ahead but skip tty7 if you run X.
#
1:2345:respawn:/bin/login -f user tty1 < /dev/tty1 > dev/tty1 2>&1
#1:2345:respawn:/sbin/getty 38400 tty1
#2:23:respawn:/sbin/getty 38400 tty2
#3:23:respawn:/sbin/getty 38400 tty3
#4:23:respawn:/sbin/getty 38400 tty4
#5:23:respawn:/sbin/getty 38400 tty5
#6:23:respawn:/sbin/getty 38400 tty6
계정에 sudo 권한을 주는데, reboot은 그냥 할 수 있도록 한다.
# /etc/sudoers

user ALL=(ALL:ALL) ALL

# 페스워드 없이 reboot 실행시킬 수 있도록 권한을 준다.
user ALL=NOPASSWD: /sbin/reboot
rc.local에서는 user의 권한으로 X를 실행시킨다.
#!/bin/sh -e
#
# rc.local
#
# This script is executed at the end of each multiuser runlevel.
# Make sure that the script will "exit 0" on success or any other
# value on error.
#
# In order to enable or disable this script just change the execution
# bits.
#
# By default this script does nothing.

su user -c startx
라즈베리파이를 키자마자 init 5로 X가 뜨도록 했고,
root@hostname /etc/rc5.d# ln -s ../init.d/x11-common S17x11-common
root@hostname /etc/rc5.d# ln -s ../init.d/rc.local S18rc.local
user의 .xinitrc에서는 단순히 chromium 하나만 띄우는걸로 진행했다.
#!/bin.sh

# Run Chrome
/usr/bin/chromium --incognito --disable-ipv6 --disable-translate --kiosk http://주소

# Reboot
sudo reboot
헛뜨… 권한 없다고 X 안뜬다.
X: user not authorized to run the X server, aborting.
알아보니, X server를 띄울때도 권한이 필요하다.
- Root Only
- Console Users Only
- Anybody
아래 명령을 실행시켜 Anybody로 바꾸자.
$ sudo dpkg-reconfigure x11-common
이때, chromium을 띄울 때, kiosk 모드로 띄웠음에도 불구하고 화면이 꽉 차지 않을 수 있다. 이럴 때는 다음의 옵션을 활용한다.
Added two new command line options (should work with or without --app):
--window-size=w,h
--window-position=x,y
위 옵션을 적용해 user의 .xinitrc를 다음과 같이 수정한다.
#!/bin.sh

# Run Chrome
/usr/bin/chromium --window-size=1680,1050 --window-position=0,0 --incognito --disable-ipv6 --disable-translate --kiosk http://주소

# Reboot
sudo reboot
chromium을 닫을 경우 X는 종료하고, 바로 reboot 된다.
아무런 옵션을 주지 않으면 framebuffer가 16bit 컬러로 동작한다는것을 알고는 32bit로 바꿔봤다.
아래는 최종으로 정리된 /boot/config.txt다.
# /boot/config.txt
# Disable Overscan
disable_overscan=1

# GPU 16M
gpu_mem=16

# DVI MODE
hdmi_drive=1

# DMT
hdmi_group=2

# 1680x1050
hdmi_mode=58

# 32bit Mode
framebuffer_depth=32
framebuffer_ignore_alpha=1
그리고… 기록 상 사진 몇 장 남겨본다.